Neck gaiters are growing in popularity and are usually made from 100% polyester, which makes them ideal for sublimation. We’ve fielded many questions about how to sublimate gaiters all over without gaps or white seams showing. Some gaiters are completely tubular (no sewn seam) and some have a seam down the back or side. The process outlined below works great for both styles. With a little practice and ingenuity, in the end you’ll be able to create amazing all-over prints!
The Board
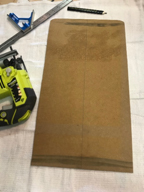
One of the easiest ways to press a tubular item is by building a jig that holds the piece in place and allows the press operator to stretch the gaiter a little to open any seams. It also allows the gaiter to be rolled over after the first press to allow for some overlap of printing for a seamless look. These can be made from a standard 1/8-inch press board or Phenolic boards.
Board Dimensions: This all depends on the size of your press but to fully sublimate this piece I would use an 11.5” x 21” board.
Tip: Round the edges at one end to allow for easier loading.
The Back
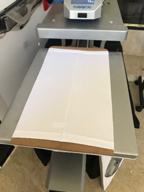
Start with the back of the gaiter first. The back is generally a solid color or all-over pattern without a logo. When worn, the gaiter is bunched up around the neck and shoulders and so it isn’t a prime location for branding.
Seams: When preparing for the first press, stretch the gaiter out to the edges to spread the seam to ensure contact with the sublimation paper.
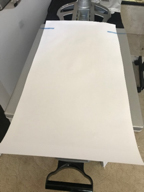
The Print
Align the back print over the gaiter. Check to be sure the image covers the gaiter right, left, top and bottom.
Tip: Print the image with a ¼-inch overlap to be sure the entire area is covered and that it allows for some margin of error.
The Tape
Keeping the printed image still during press operation can be tricky if you use a press that draws or swings away. A good practice is to use thermal tape to keep the paper in place.
Tip: If your press has a bottom, use Teflon cover tape to secure the paper to it.
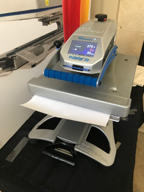
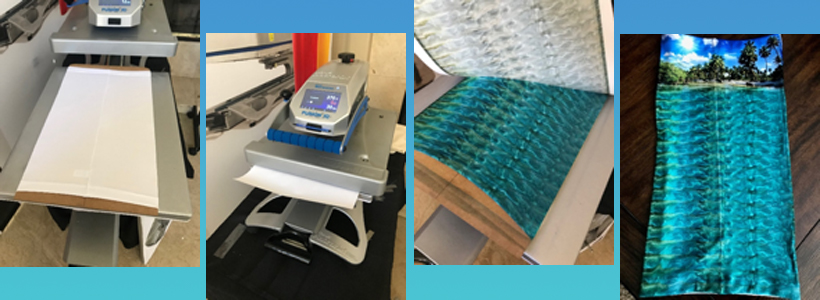
The Press
Now that we have everything in place, it’s ready to go.
Tip: For the best results, follow all manufacturer’s recommended application instructions for the paper and printing system you are using.
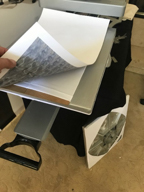
The Peel
Once the press has timed out, it’s time to peel the paper. Do this immediately after pressing and use a steady even peel.
Tip: To reduce the chance of ghosting and image shift after pressing and releasing, use tacky paper. During pressing the heat activates the tackiness and keeps the paper firmly in place until you peel.
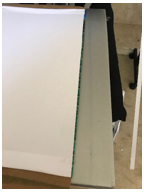
The Roll
Now we can move to the front image. Before pressing, roll the edges of the back around the side of the board until you have about 1/8-inch rolled up the blank side. This will allow for an overlap of the front and back images to keep the design seamless.
Tip: Try to keep 1/8-inch or less of image overlap. If you have too much, there could be a dark line that shows on lighter colors due to the double sublimating of that area.
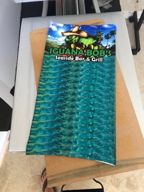
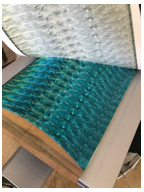
The Finished Product
Once you have practiced this process you will be able to achieve the bright colors and seamless all-over designs that your customers are looking for!