
If your shop works with schools and sports teams, then you’re going to be working with a lot of performance fabrics.
The last 15 years have seen a rise in the popularity of performance fabrics. We’ve discussed how to successfully decorate these styles in a previous blog, focusing on PosiCharge® technology developed by SanMar.
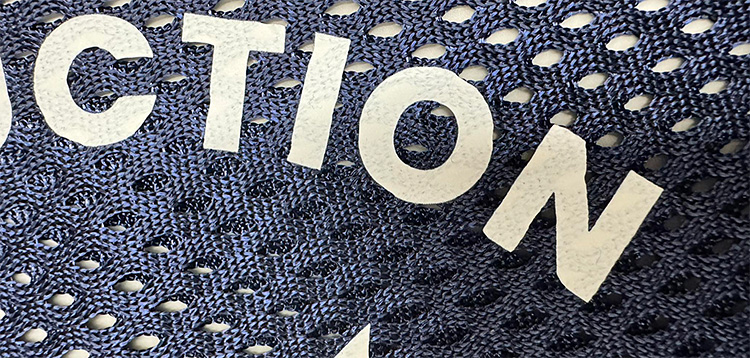
Today we’re going to be looking at a particular performance style that can be tricky to decorate. Enter the reversible mesh jersey.
Reversible Mesh: The Double-Team Conundrum
The open-hole mesh and reversible double fabric in this style can throw a technical foul into the equation, whether screenprinting or decorating via heat application. Extra care and attention to detail are often required for a successful finished product.
We’ll take a closer look at both techniques so you can decorate this style efficiently, minimizing mess and causing fewer printing inconsistencies across the uniform order.

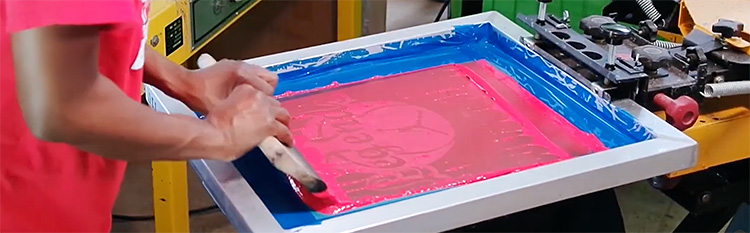
Screenprinting Basics
A successful screenprint means that either all of the holes are either completely covered by the design, or clear of it. We don’t want the printed jersey to capture ink in some of the mesh holes and not the others, creating an inconsistent and sloppy look.
With the right technique, screenprinting reversible mesh jerseys will offer you a consistent print that allows the holes to clear the design on each garment, creating a veritable slam dunk each time.
- Check your platens. Make sure that they’re the right size for splitting the reversible jersey so that you’re only printing on one side and not the reversible side underneath. Reversible jerseys become very narrow as you get closer to the arm holes and neck seam. You may not be able to get smaller sizes as far down the platen as you need to for proper design placement. If a smaller platen is needed, Action Engineering offers a wealth of standard screen printing platen sizes for you to choose from based off your equipment manufacturer.
- Stretch and durability are very important on uniforms. It may be necessary to evaluate the use of a stretch additive when preparing your ink for production.
A Simple Screenprint: Straightforward, but Mind the Mess
When screenprinting on open mesh, the consistency of the ink will lay across the fabric and typically pull away from the holes, especially if they’re larger, as you remove the garment. This creates that professional gametime look you’re going for.
This straightforward approach is certainly a feasible way to decorate open hole mesh jerseys. Unfortunately, the ink that penetrates through the open hole mesh will now be sitting directly on your platen, which means you have two new factors to consider:
- Removing the garment carefully, to avoid smearing the ink
- Cleaning the platen after each piece is printed
You can speed up the cleaning process if the leftover ink on the platen is flash cured, but this process always means a long print run and added labor. You’ll want to build this into your pricing.
Screenprinting with Parchment Paper: More Cutting, Less Cleaning
You could also consider cutting parchment paper to the size of each platen, adhering the paper to the platen, and then threading the jersey on, as this will cause the excess ink in the mesh holes to sit on the parchment paper.
This still creates additional labor and waste that needs to be accounted for:
- Make sure that the parchment paper is completely flat and adhered to the platen, to avoid waves or disruption in the fabric as it’s being printed.
- You’ll have to remove the paper and apply a new sheet after each print.
The goal is to lay thin ink layers to retain the fabric’s original dimples and holes while achieving a durable print, without making a mess that needs to be cleaned each time.
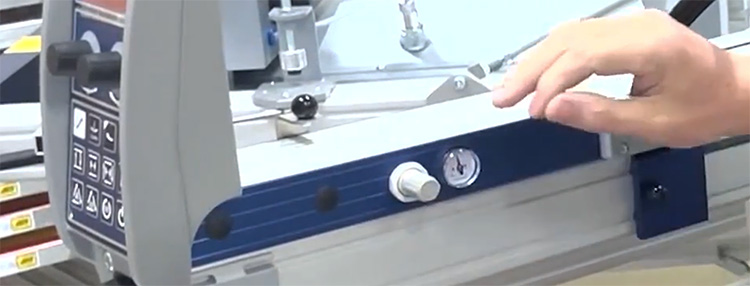
Screenprinting Pressure
Most automatic screenprint presses allow you to adjust the squeegee pressure setting. With some trials and testing, you should be able to get it just right, so that the ink moves through the screen and lays on top of the fabric that is touching the screen, without moving through the mesh holes and touching your platen.
You’ll then need to print something without open holes, like a basic tee, to push the remaining ink through the screen and create a clean stencil for your next batch of jerseys. While this process still creates a batch print dynamic, it should avoid the mess and additional labor required to clean the platens following each print.
As a best practice, it’s important to reach out and consult with your equipment supplier for an assist to discuss the ideal squeegee pressure for this decoration method.
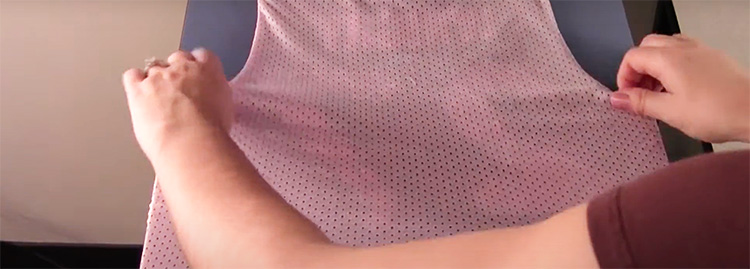
Heat Transfer Basics
Heat application allows the decorator a great deal of maneuverability around the press when decorating. This makes it an ideal method for reversible mesh jerseys, especially if the unit count is below 50 pieces. Remember these basics before you start:
- Always pre-press the garment for at least 5 seconds to remove moisture
- Using a barrier to protect the garment from direct heat is highly advised
If you have a dual platen heat press, like the Hotronix Dual Air Fusion, taking on large volume uniform runs becomes even more efficient.
Threading the jersey when heat applying is paramount for success. It prevents the adhesive backing from going through the mesh holes and adhering to the other side of the reversible jersey. If this happens, you’ll have to pull the jersey apart by force, creating inconsistencies across the mesh and possible design warping.
Once again, you’ll want to make sure you have the right size attachment for the heat press. An 11” x 15” platen allows you to thread the jersey onto your press to gain access to your decoration location on smaller sizes. Stahls’ offers a wide variety of Quick Change Platens for these needs.
Heat Transfer: Critical Consumables
Let’s start with the artwork. Deciding which consumables to focus on is a critical first step—choose the products that will help your work be as efficient and accurate as possible.
Stahls’ has a robust platform via Team Builder on their Easy View Designer to assist with this. You no longer need to manually enter every single name and number, as you can now upload the roster directly into the designer.
Team Builder will then do the heavy lifting by populating the right names with the right number. Team Builder is exclusive with Stahls’ UltraColor Max DTF transfer. These transfers can be ordered in any quantity, with any number of colors, and up to 22” x 22”.
Another supplier to consider is Supacolor and their Lo Melt Blocker. This is a digital hybrid transfer that incorporates water-based ink with a digital print, giving it an ultra-soft hand that presses at a lower temperature than most other transfers on the market today. This product also combats dye migration extremely well on patterned, or dye sublimated fabrics, and features technical and stretchy elements for durability.
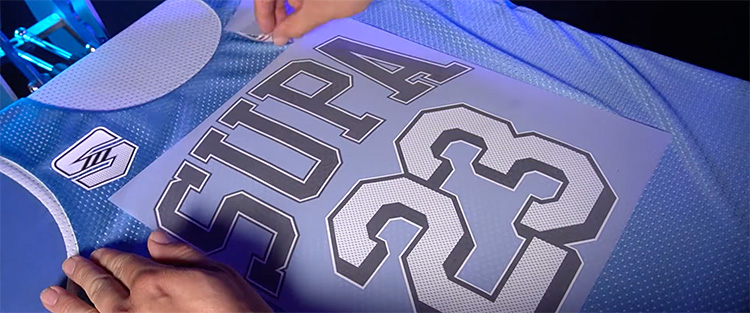
Heat Transfer: Unique Looks
Heat application will also give you some more unique looks to consider, as you can utilize a screen printed transfer for a classic soft hand feel, or you can use a direct to film transfer to create a robust design look with unlimited colors. Stahls’ Transfer Express has several solutions:
- Elastiprints is a solid choice for stretch and durability
- Express Names and Stock Screen Printed Numbers offer personalized options
Regardless of your consumable, remember to follow the pressing instructions that are included by your supplier for the transfer that you purchase.
The Final Score
Decorating reversible mesh jerseys can be time consuming, but with the right mindset and approach there’s no need to struggle with these jobs.
A little research, consulting and testing, can give you the edge you need to get these jerseys in your customers’ hands just in time for the big game.
If you have more questions about decorating on mesh jerseys, or any other decoration dilemma, the Decorator Solutions team is always here to help.