The art of science is rooted in an equal split between knowledge and luck. This has never been more accurate when we review the technique of water-based screen printing. The number of inputs that need to be considered for an optimal print causes many shops to shy away and mostly use plastisol ink. As the technique implies, it’s all about the good ol’ H2O. Lets dive into a few key areas that you’ll dial in while trying to correctly cure your water-based print.
Building Environment – Humidity & Temperature
- Depending on where your shop is located and the time of year, you will have varying degrees of ambient humidity and temperature to account for. Mornings will see lower levels compared to mid-day or afternoons. In combination to daily temperature swings, the longer your dryers and flashes are running the hotter the shop will become.
- For shops that can have arid and cooler climates throughout the year, you may find a need to increase humidity to stabilize the ink during production.
Fabric Moisture Content
- Cotton acts like a sponge and holds onto water as it’s manufactured. Heavier fabrics or larger piles (as in sweatshirts), darker colors and greater cotton content are all likely garments to have a higher moisture content.
- If a garment has too much moisture prior to production, you may find adhesion issues for screen printing or spotty coverage in pre-treat within direct to garment. It’s recommended to run the garments through the dryer prior to printing for best results.
Airflow
- It is important to have airflow both within the building and within the tunnel of your dryer. Without airflow down the belt, you will see an increase in the humidity within the tunnel which could limit the release of moisture from your garments. Items like sweatshirts may require more distance between pieces on the belt to correctly prep and then cure your ink.
- Increasing the dryer temperature to account for shorter belts and less time under heat is not advised. There are risks in not accurately reducing enough moisture from the garment, including but not limited to overheating (especially if poly-blended), over-baking the top layer of ink and under-curing the base layer.

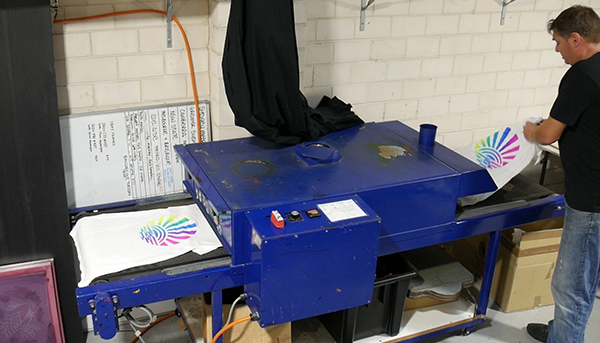
Time Under Heat
- Flashes are designed to gel a base layer to stabilize it just enough for a top layer to be applied. As the garment is run through the dryer, the belt length and tunnel temperature provide enough heat over time to penetrate all layers for a final cure.
- A good reminder is to check the sources of your heat. There are a few methods to use, such as test strips, heat guns and donut probes. When using a heat-gun it will be checking the garment and/or ink surface temperature. The most accurate read will be running a donut probe through the dryer to verify its performance and accuracy.
- The end of the dryer is equally as important, as hot stacking (even with cotton) can have undesired consequences. The time under heat includes the heat/time while stacked and boxed. If you haven’t allowed for proper cooling, then ghosting and ink rubbing off could still occur.
With all these considerations, the key will be to take detailed notes for continued reference and check the variables throughout the day as your environment will inevitably adjust. While dialing in all these attributes, the ultimate test for success in how your print has cured is to wash it multiple times. If you have open concerns prior to running a project, utilize your suppliers for guidance.