Caps and hats are a big market in the promotional product world. Ball caps are all about variety. When you look at a cap catalog or website and there are hundreds if not thousands of choices…structured and unstructured, high profile and low profile caps.
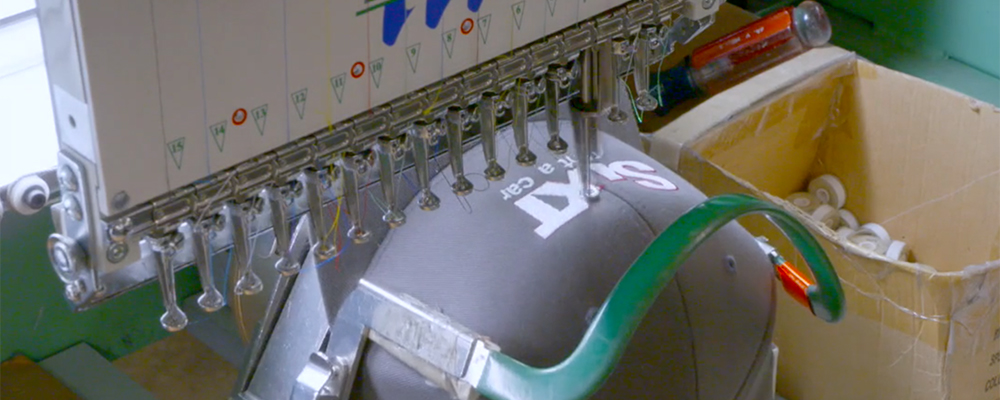
 When embroidering on these different types of caps there are a few steps you can follow to create great embroidery. The first two elements for great embroidery come from the placement of the graphic and the stabilizers you use.
Different Categories of Caps
One-Piece Front (OPF)
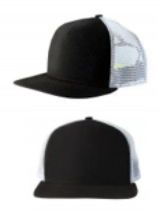
These are your basic “trucker” or “farmer” hats. They have a foam laminated backing that gives the hat structure and the rest of the hat is made of mesh. OPF hats are easy to hoop and embroider thanks to the laminated backing and also because there isn’t a center seam on the hat.
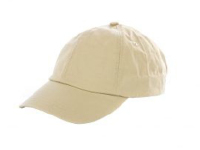 Varsity/Collegiate Hats
These hats tend to fit closer to the head because they do not have a laminated backing on the front panel. Because of this, the hats move bit during embroidery. Be sure to hoop the hat properly to avoid any issues with movement.
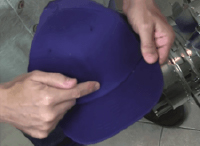
Sport Caps
These caps are the most popular style of hat, especially when it comes to embroidery. The hat has a center seam down the middle of the front and has a laminated backing to give it structure.
 Embroidering on the Front
The front of the cap is the most common placement for embroidery. It’s also the easiest place to embroider on a cap. The main difference you’ll face when embroidering the front of a cap is whether it is structured or unstructured.
For unstructured caps like varsity and collegiate-style hats, you need to use a backing or stabilizer. Most embroiderers use tear away backing. This helps hold the shape of the cap while it is being embroidered. You will also want to use this type of stabilizer for caps that have a soft buckram or foam backing.
Embroidering on the Side
For side placements, you need to use a back clip. Most brands of embroidery machines use multiple clips that look a lot like binder clips from an office supply store. If you don’t use clips, the design will look like it’s running downhill.
While cap backing may be optional for front placements, it is a necessity for side placements. The side of the cap doesn’t have any fused buckram and so needs to be stabilized. For twill and mesh caps, a single piece of cap backing will do the trick. Flexfit and other stretch-to-fit caps require at least two pieces of backing, if not a cutaway backing.
Embroidering on the Back
Placements on the back of the caps are pretty straightforward. There are several attachments on the market to help with placement. A simple solution is to use a conventional, small, round hoop. The best hoop size for the job is a 12-centimeter or 4.5-inch round hoop. Also, be sure to use a cutaway stabilizer.
There are many steps when embroidery on different areas of a cap. Stay tuned for Part 2 of this article where we’ll talk about the best practices when hooping and digitizing.