In order to make sure your embroidered cap design comes out the best it can be (for you and your customer), there are a lot of details you need to get right. Two of the most important details are properly hooping your cap and making sure your design is perfectly digitized.
Hooping Caps
Whether you are new to embroidery or an experienced embroiderer, I’m sure we can all agree that hooping caps can be difficult. It’s common to hear people blame a failed embroidery project on the machines or on the product, but the problem may lie with how you set up the product on the machine. As with any embroidery project, if your hooping is not clean, your embroidery will not clean be either.
Before you start, make sure you have these three accessories for your embroidery machine: driver, cap frame and jig.
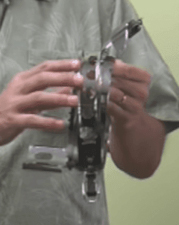
 Driver
The driver fits over the top of the arm of the embroidery machine.
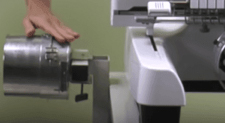
 Cap Frame
The cap frame attaches to the cap.
 Jig
Jig
The jig attaches the cap frame to the machine for more accurate hooping.
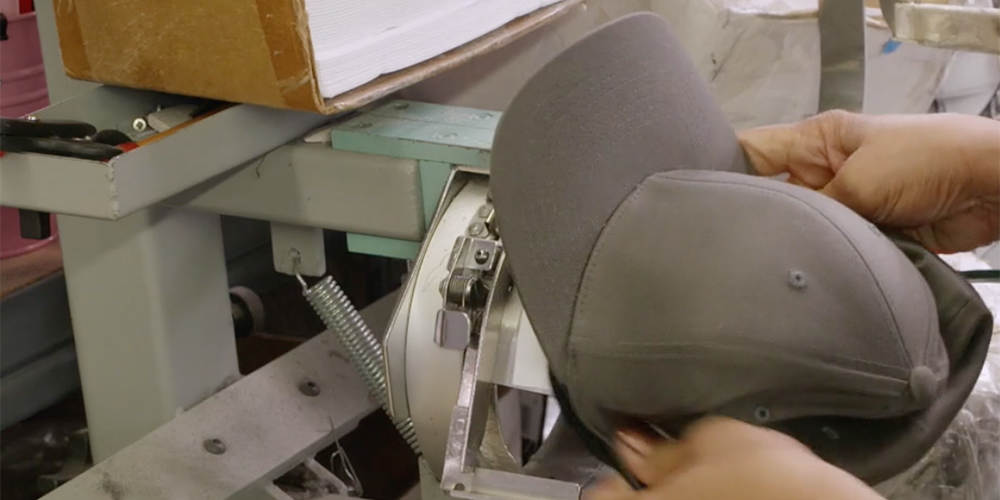
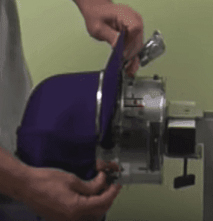
Now that you have your cap and all the attachments, let’s get hooping!
- Make sure the cap frame is properly secured to the jig. You’ll know it is seated correctly after it clicks securely into place.
- Next, let’s get the cap frame into position. Start by moving the peak mount and the band into position.
- Now we need to prepare the cap itself. Start by moving the band on the inside of the cap out of the way, as it will be placed underneath the plate on the jig.
- Place the cap on the cap frame and secure the band of the cap. Now, take the cap frame/strap and secure it so the teeth of the band lines up to the base of the cap. Once it is in position, push the strap down to lock it in place. Make sure there is no excess space where the peak of the cap meets the crown.
- That’s it! Your cap is ready to go.

Digitizing Embroidery Designs
When digitizing designs for caps, there is one rule you should always follow: always start bottom-up and center-out.
Why is it so important to start digitizing from the bottom? If you don’t, your stitching will buckle and you will get poor results. The same idea applies to digitizing from the inside (or center) out. You want to start from the center of the cap and proceed outward to make sure that no buckling occurs.
There many other details to consider when digitizing a cap, such as changing the underlay, remembering to overlap satin stitches, fixing cap embroidery designs, separating, dealing with gaps between objects and more.
When working with customers on embroidery projects, some have tried to use a previously-used DST file on caps, perhaps one that was used for a polo project. I do not recommend this because the cap doesn’t have a flat surface and the DST file is made for embroidering on a flat surface.
Remember, if you want your embroidered cap design to be the best it can be, that you need to securely hoop the cap, use a DST file that’s specific to your cap and embroider the design in the right direction. Follow these steps and you are on your way to having a successful project!