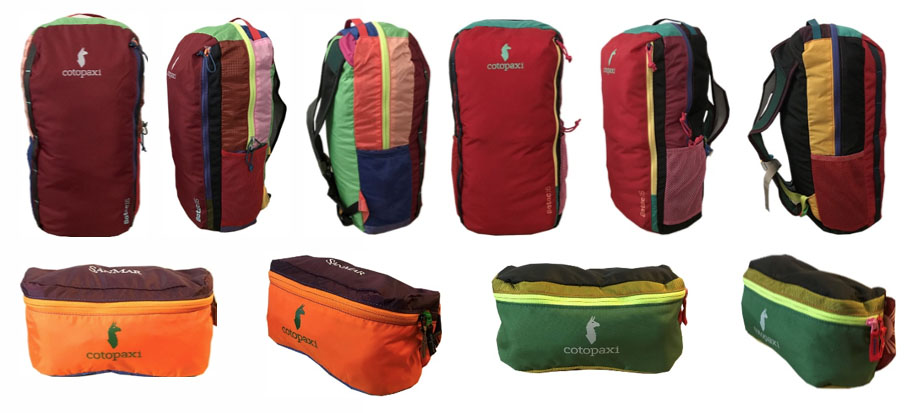
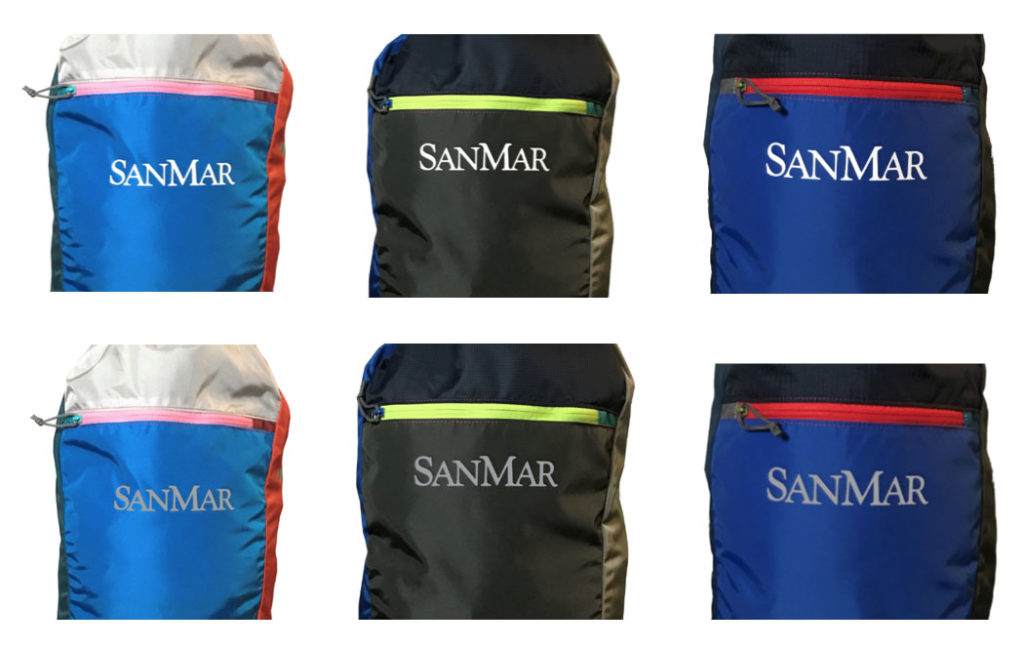
A colorful surprise you say? Yes! The surprise is brought to you by Cotopaxi – they are new to the promotional products industry but their story and mission are exactly what customers have been asking for. Each Cotopaxi bag is made from 100% repurposed fabric, creating one-of-a-kind pieces that are socially and environmentally responsible. Cotopaxi empowers their sewers to make all of the funky color choices and final creative decisions as they manufacture the bags.
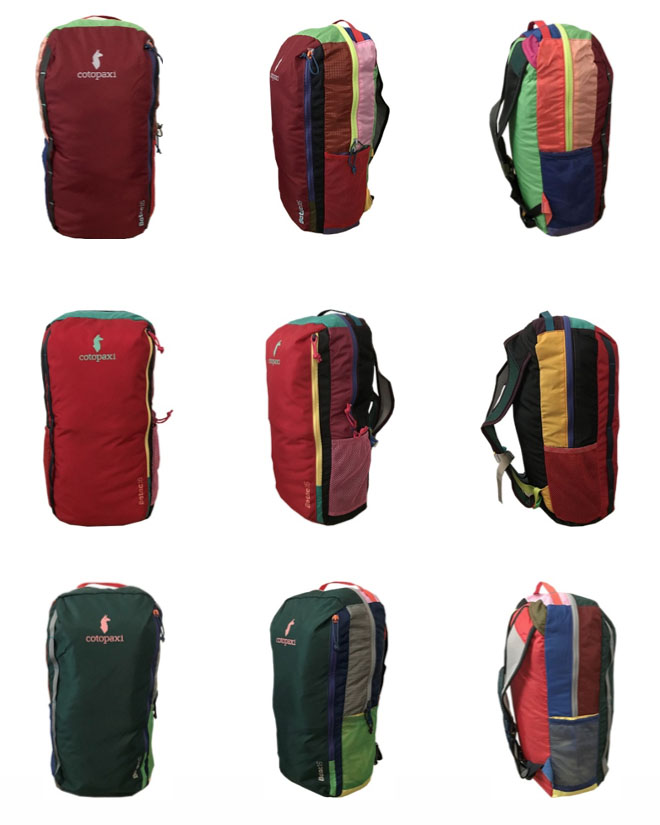
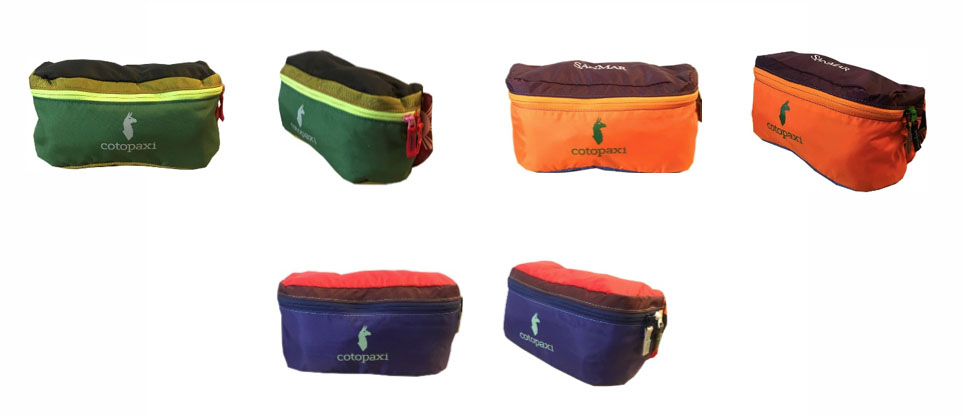
In the end, each backpack is a unique work of art. No two packs are alike! Below are some examples of an order of three of each style of Cotopaxi pack. Notice that each bag is different – from each panel color, zippers, zipper pull and trim to the branding color. Each pack is unique to itself.
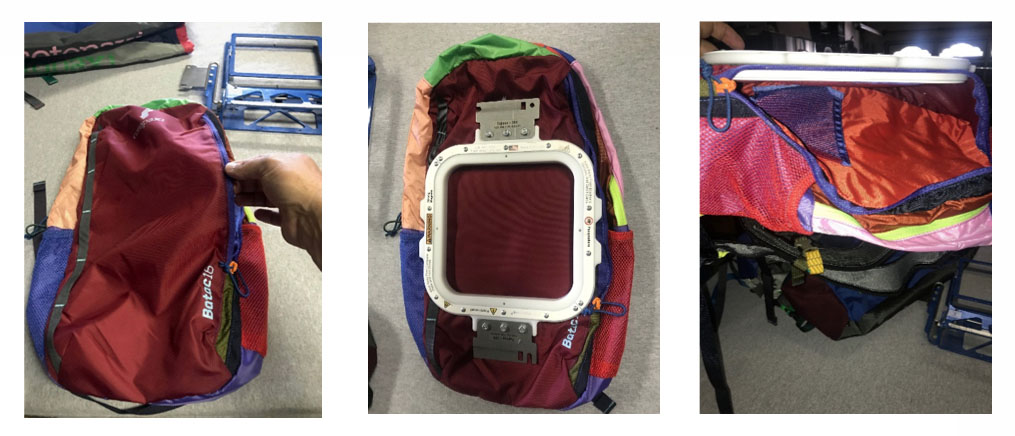
Cotopaxi Batac Backpack (COTOBTP)
Cotopaxi Bataan Hip Pack (COTOBFP)
Cotopaxi Luzon Backpack (COTOL18L)
So, what does this colorful surprise mean for decorators? In our “normal” world we are used to ordering quantities of a pack in the same color for our clients. With each Cotopaxi bag being unique, making a client’s logo “fit” on surprise colorways may be a new challenge. SanMar has worked with Cotopaxi to eliminate white as a main panel option, this way you can always use the color white as a decoration. Because of the color variances with each pack it is best to stick with neutral colors like white, black and grey for decoration. The great thing is that most corporate brand guidelines have a logo option that is one-color, black or white. As you can see below, both white and grey work great on the “surprise” colorways.
Recommended Decoration Techniques
I had a chance to work with these Cotopaxi bags personally. In the past, decorating on nylon has always been something that many decorators shied away from. But today, with the innovations in heat transfer and screen print ink we no longer need to shy away – they are surprisingly heat tolerant. In my opinion, I think heat transfer and embroidery are the best forms of decoration for these items, but a screen printer with the right pallets should have no issues printing on them.
Heat Transfer is the best option for these bags. The fabric is very heat tolerant and the press left no marks. Be sure to check with your heat transfer supplier for the best products to use on nylon. (Thank you to Stahls’ for allowing me to come in and use their equipment)
Products used for this project:
- Stahls’ Ultra Weed Heat Transfer Vinyl / 275° / 15 Sec. / Medium Pressure
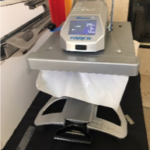
- Hotronix Fusion IQ Heat Press
- Roland DG GS-24 Vinyl Cutter
- Print Perfect Pad
- Teflon Sheet
The Process
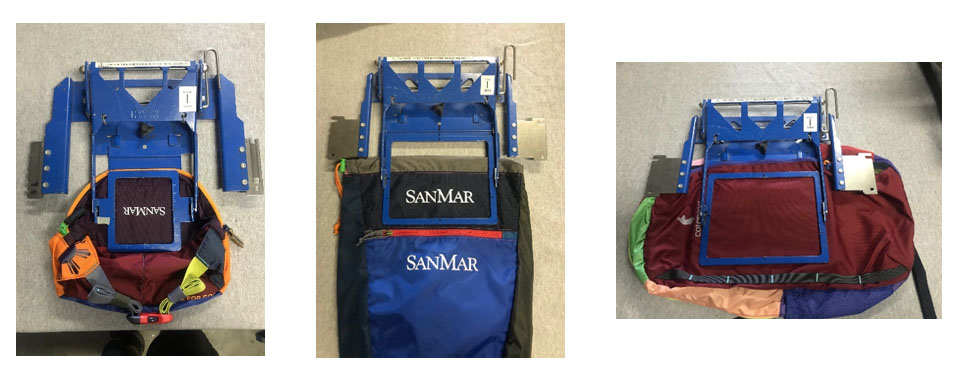
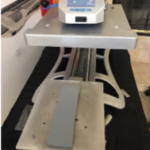 The Platen
Heat presses today come in many different sizes and most have alternate size platens. In this picture, you see a small 6×10 platen and a print perfect pad, which helps elevate the print area for application. Elevating the surface allows zippers and other accessories to fall below the print area and avoid receiving direct heat and pressure. By eliminating these obstructions, you ensure better contact between the heat press, textile and transfer.
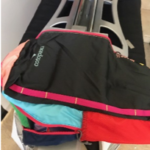 Thread it on
Using smaller platens allows the press operator to easily access the area to be branded. This picture shows the smaller platen and print pad inserted into the side zipper.
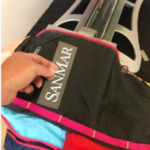 The Placement
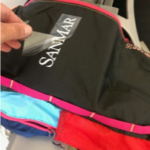
Now, measure and place your logo. Most transfers have a sticky carrier. If you have one that is not, don’t panic. You can always add a couple pieces of thermal tape to secure placement.
Tip: These bags a constructed out of nylon. Be sure to consult with your transfer manufacturer for best products to use.
 The Coversheet
To help protect your textile and your heating element, use the following:
-
-
-
-
- Teflon Sheet (Shown)
- Silicone Covered Craft Paper
- Rubberized Coversheets
-
-
-
Tip: Rubberized sheets are thicker and may require more time to allow the heat to penetrate both surfaces and activate the adhesives.
 The Press
Now that we have everything in place, it’s ready to go.
Tip: It takes accurate time, temperature and pressure to ensure a good heat transfer. Follow all of the manufacturer’s recommended application settings for the best results.
 The Peel
Once the press has timed out, it’s time to peel the paper. Do this immediately after pressing and use a steady, even peel.
Tip: Be sure to read the manufacturer’s application instructions to know if you are required to peel the paper when it’s hot, warm or cold.
Embroidery allows you to be a bit more creative with colors. A shop with a lot of single heads can set each up to run a complementing color to match a trim piece, zipper pull or panel color.
Tips and Tricks:
- Needle
- Use a sharp or light ball point 65/9 or 70/11
- Hooptech
- Clamping systems are perfect for this job. They are easy to load and allow you easy access to many of the panels and pockets on the packs.
- Mighty Hoop
- Magnetic frames are another great option to hold these bags steady! The magnets are super strong and will hold a decent-sized bag without releasing.
Screen Printing can be tricky but good news is the fabric and trims are pretty heat tolerant. I would recommend using a sleeve our youth pallet to screen print Cotopaxi bags.
Also, it’s a best practice to reach out to your ink supplier and ask for their recommendation for printing on rip stop nylon. Generally, they will guide you to an ink specific to nylon or a catalyst that will help a polyester ink bond. As always, be sure to test before starting full production.
While not knowing exactly what color you’re going to decorate on may feel a bit unsettling at first, the possibilities and the opportunities definitely outweigh the “surprise.” If you have any questions or are unsure about how to work with any of the Cotopaxi products, please reach out to us. We’re here to help! You can find us at decoratorrelations@sanmar.com.