More than twenty years before Nike.com’s Nike By You sneaker feature and decades before Ralph Lauren’s Create Your Own e-shop, our work at SanMar has been about offering quality, customizable apparel for working men and women. And as we’re well into our 50th year doing so, we’re continuing to innovate and invent sales tools to support your partnership in this monumental endeavor.
Today, we stand behind our digital Design Studio’s new Virtual Sample Tool as our best, fastest, and easiest way to bring your ideas to life.
THE SHORT OF IT
In just a few clicks, any one of our thousand-plus product pics can be your blank canvas of creativity. Overlay text, logos, or graphics — or a combination thereof — to customize caps, polos, backpacks, and hoodies. Email the project’s link to clients or embed the images on your own site.
WHY USE IT
Envisioning a company’s tagline printed on Port Authority’s Cotton Knit Face Masks? Make it happen and even show four color combos in just minutes. Just think of the hours saved from describing how a neon pink logo looks on the left sleeve of a green Nike Dri-FIT Polo. Plus, a digital presentation is a sure-fire method in managing the client’s end-product quality expectation.
READY, SET…START CREATING
OK, have we piqued your interest? To get started, follow the below steps, or visit our quick three-minute video tutorial.
Pro tip: Share or download the video to get your field reps and team members up to speed.
- Open a new browser window or tab and go to SanMar.com
- Select “Design Studio” under Marketing on the top navigation.
- Click “Get Started” to access Design Studio
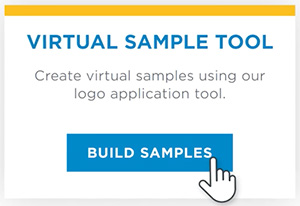
- Click “Build Samples” on the center box labeled “Virtual Sample Tool”.
- Next, you’ll see a pop-up box requesting you to title your first project.
Ex. “Catalina Wine Mixer Tees & Caps Pitch” - Select your first SanMar item by typing in the style number or keyword.
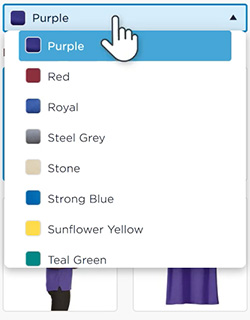
- Move to the right side to select your desired product color option and photo angle. Now you’re ready to customize.
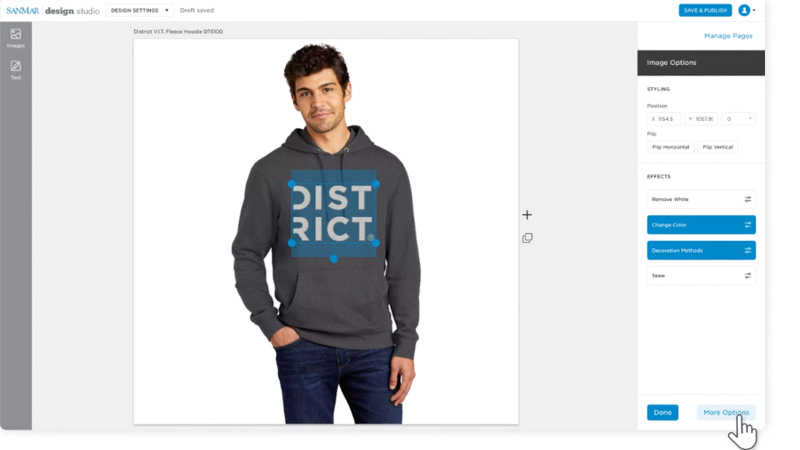
- Once the product shot appears on your screen, upload logos, graphics, images, and more by clicking on “images” in the upper left-hand corner.
- Click on the “+” icon on the logo image you want to add. It will be placed in the primary decoration location for that product, but you can then move and resize it as desired.
- Click on “Save and Publish” to finish.
Place graphics, text, and artwork on sleeves, collars, and anywhere on bags or caps. The tool is designed to layer and reshape logos under strings and straps.
FAVORITE FEATURES
Don’t stop at just one sample idea. Use the Virtual Sample Tool to create a custom digital catalog for your client’s eyes only. Fill a project with ten, or even up to 50 ideas to really wow them. Think of the tool as an instant online sample maker.
With features like embroidered stitch-like effects to logo color changes, the photo can depict our production options so precisely you’ll think they were shot in a studio. You can even clone a design to show multiple color combos for a fast, almost swatch-like visual from which clients can order.
For more detailed tips, like how to skew your logo, easily duplicate a design in colors and more, visit the three-minute video tutorial mentioned above.
Already a fan of the Virtual Sample Tool? Share your designs and thoughts with us on Facebook, LinkedIn, Twitter, and Instagram.